
Attendees (check-in)
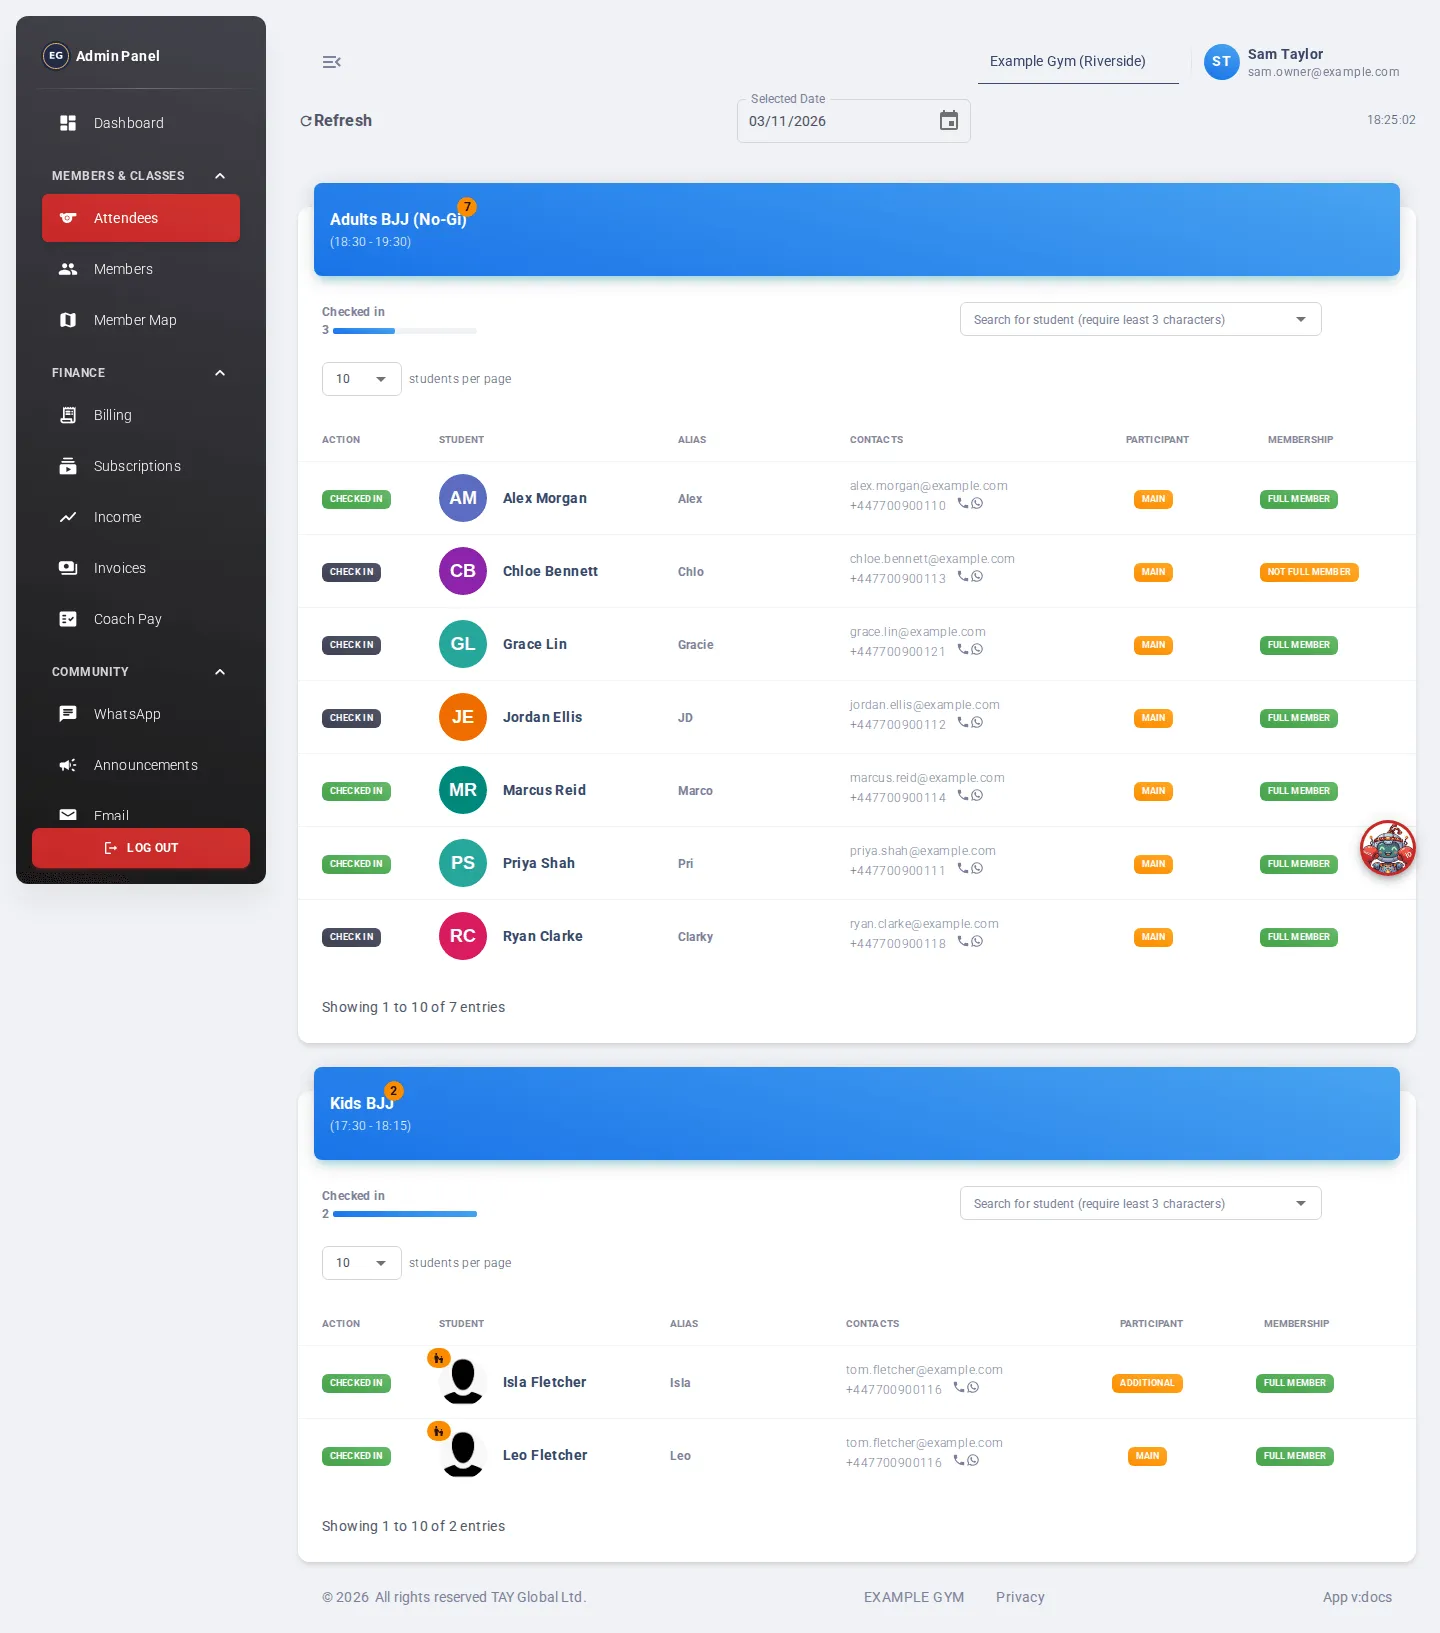
Attendees shows every class on the timetable for a day, who signed up, and who has arrived. Use it at the front desk or on the mat to check people in.
Who can use it: coaches and admins.
Open it from the menu: Members & Classes → Attendees.
The top bar
Section titled “The top bar”- Selected Date: the day you are looking at. It starts on today. You can pick any past or future date.
- Refresh: reloads the classes and sign-ups. Use it if a member says they have just booked.
- A clock on the right shows the current time.
A class card
Section titled “A class card”Each class that day has its own card:
- Title and time, for example “Adults BJJ (18:00 - 19:00)”. The orange number is how many people are on the list (signed up plus checked in).
- Checked in: how many have arrived, with a progress bar.
- Search box: check in someone who is not on the list, such as a walk-in.
- The list of people, with these columns:
- action: the check in button, or a green checked in label.
- student: photo, full name and phone number. Click the photo to make it bigger. Click the name to open the member’s page in Members. Children on a parent’s account have a small child icon on their photo.
- alias: the name the member shows in the app.
- Contacts: email, phone, a call button and a WhatsApp button.
- participant: main for the account holder, additional for a child or family member on someone else’s account.
- membership: green full member or orange not full member.
People who are checked in are listed first. Use students per page at the bottom to show 5 to 25 rows at a time.
Check in someone who signed up
Section titled “Check in someone who signed up”- Make sure Selected Date is today.
- Find the class card.
- Click check in on the person’s row.
- The button shows “checking in …” and then changes to checked in. The count goes up.
Check in a walk-in or someone not on the list
Section titled “Check in a walk-in or someone not on the list”- In the class card, click the box Search for student (require least 3 characters).
- Type at least 3 letters of their name, alias or email.
- Press Enter. The search only starts when you press Enter.
- Pick the person from the list. Entries look like “Name (alias) - email”. Children appear under their parent’s email.
- Click the Check in button that appears next to the box.
- The list refreshes and the person shows as checked in.
The person must already have an account in the members’ app. If they can’t be found, see Add a new member.
Members can also check themselves in from their phone. See the members’ app guide.